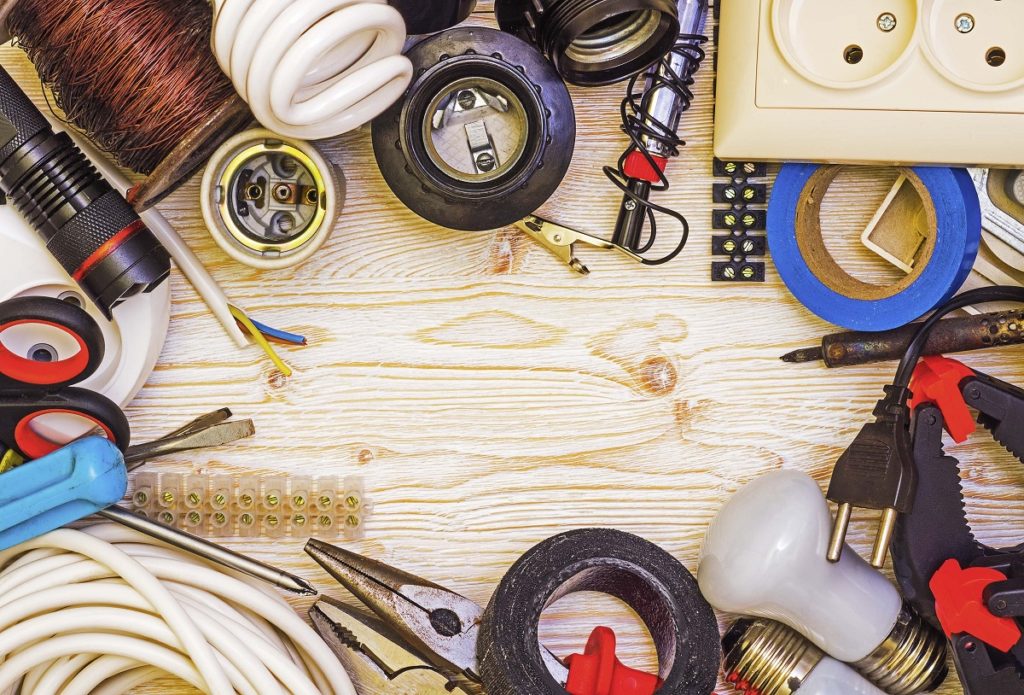
During renovations, homeowners often need to upgrade electrical boxes to accommodate more wirings. Maybe you want to install lighting fixtures or add outlets in new rooms. If you’re in the same position or don’t have a junction box at all, here’s how you install one:
What will you need?
To attach your junction box, you’ll need a handy hydraulic hole punch, which is also called a knockout puncher. For the best hydraulic hole punchers in Australia, refer to stores with a wide range of precision tools. Some boxes already have knockouts, while some are bare so that you can decide how many holes you need to attach a conduit.
You’ll also need studs or joists to fasten the junction box to a concrete wall or column. Make sure to have wire nuts ready as well to fuse wires inside the box.
The type of box you need depends on how much wiring it’s supposed to house. This, in turn, depends on the structure it accommodates, whether it’s a residential or commercial location. You should also choose a box with a higher conductor fill volume than the number of wires so that there will be plenty of space inside.
Choose a location
When selecting a spot for your junction box, you mainly have to consider two things. First, that it’s accessible to the other parts of the structure where the wire should run through. This eliminates the need to drill various holes that can compromise your building’s integrity.
Second, the location ideally doesn’t lend to too much moisture. In a room with too much condensation, electrical components can wear or corrode faster.
Observe safety measures
Before proceeding with installation, wear the proper gear such as safety goggles and rubber gloves. The area where you’ll be working must be free of exposed liquid and flammable elements.
Then, shut off the main power by switching off the right circuit breaker in your building’s breaker box. Test if any of the wires you’ll be working have any voltage with a manual tester.
Mount the junction box
Once they’re aligned, screw or nail the box in place. When mounting your electrical box to wall studs, make sure they’re recessed to about half an inch beyond the wall’s surface. They shouldn’t extend further than the wall coating’s thickness. If you’re mounting your electrical box onto a concrete or a brick wall, fasten it with masonry anchors for a better hold.

Run cables through box
Once it’s fastened, run your cables through the holes and attach them with your box’s built-in clamps or separate cable connectors. If you opt for the latter, use a plastic bushing to protect the connector’s conductors. Seal any excess openings after you’ve connected all the cables.
Splice the wires
Using a wire stripper, strip off about three-quarters of an inch of casing insulation on one end of every cable. Then, separate the individual wires and strip each down to about six to eight inches of the same color for the ground.
Twist the same-colored wires using pliers until they’re wound tight. You should use a wire nut if you connect more than two wires. Finally, attach the ground wire to your junction box by wrapping its conductor around the ground screw.
Connect the box cover
Finally, install the cover to your junction box, making sure that all your cables are set inside nicely. Turn on your circuit breaker to see if everything works.
Now you know how to install and modify an electrical box. Feel free to do the same when installing additional electrical wirings.


