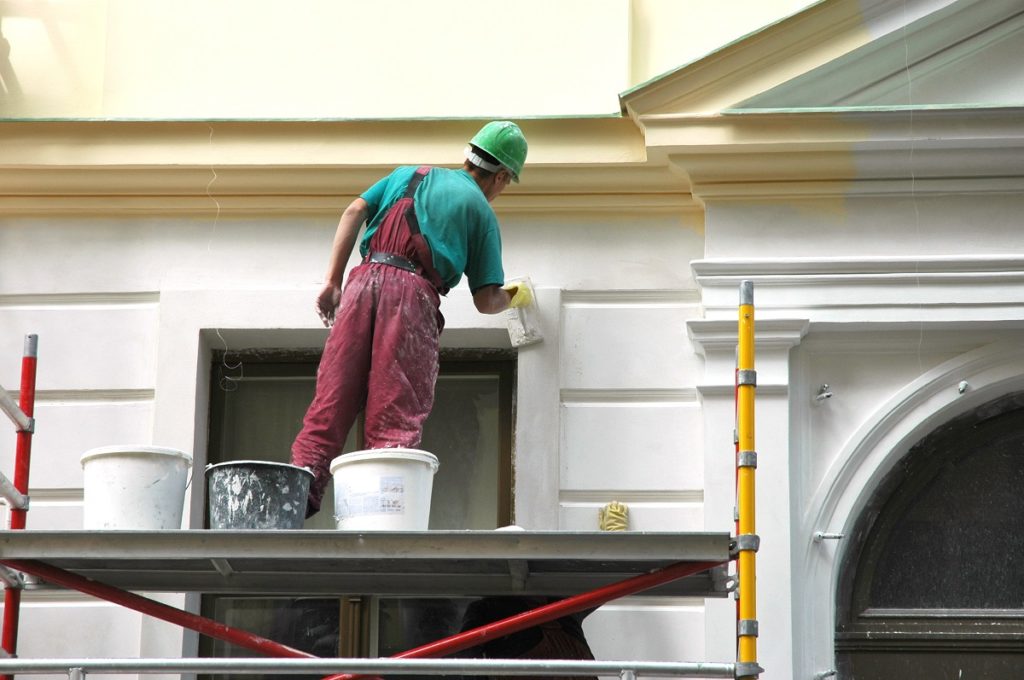
Painting a room can be easily done if you just know how to go about it properly. Here are a few tips for painting your room like a pro.
10 Easy Steps to Follow to Painting a Room Like a Pro
-
Plan well.
The very first thing you need to do is to plan accordingly. Have a clear picture in mind about how you want your room to look. Will it be painted in only one scheme to keep things simple or will you have an accent wall to make the room more interesting?
-
Pick out the materials and tools that you will be working with.
Once you already know what you want to do, you need to start picking up the right tools and materials for the job. You need to get the right paint, a few rollers, a couple of brushes, paint trays, a bucket, ladder, painter’s tape, and other things you think you will need for the job.
-
Know how much paint you will need.
Choose the colors you want to use and figure how much paint you will need to finish all the areas you intend to paint. If you don’t know how to manually calculate the amount of paint needed for your room, you can use online paint calculators to give you a good estimate.
-
Clean all surfaces that will be painted.
This step is important so don’t neglect doing this. You need to clean all the surfaces that will be painted as part of prepping the room. This ensures that all surfaces are free of dust, oil, and grime which can adversely affect the paint job.
-
Prep the room for painting.
Before dipping your roller into your tray, make sure to prep the area first by taking out all the furniture and covering the floors with a cloth to prevent paint from splattering all over the floor. If you don’t have extra space for your furniture, just wrap them in cloth to preserve them.
Cover the trimmings, corners, and baseboards with painter’s tape. If you don’t have painter’s tape on hand, you can use masking tape or Kraft tape. If you need to prime walls up or patch certain areas, now is the time to do so. This helps you avoid a blotchy finish to your paint job.

-
Mix your paint.
Depending on the color you choose, you might need to mix your paint. You can do this manually on your own or you can have it mixed at the paint depot. Pros also recommend adding paint extenders or conditioner to prolong a paint’s open time and level out paint runs and brush marks so that you don’t need to go over it again later.
-
Choose which technique to use for painting.
Before you actually start, determine which painting techniques you’re comfortable working with. There are several painting techniques for working on walls. Do your research first and strategize.
-
Paint the trims first and then ceilings and finally, the walls.
Most pros work in a specific order when painting rooms. They usually work in the order of trims-ceilings-walls.
-
Make sure the room is well-ventilated.
For paint to dry up faster, proper ventilation is needed. Open windows and fans to help speed up the drying process. It is important to note that before the paint completely dries up, you need to strip off all the tape. Inevitably, some paint will seep through the tape. Removing the tape before the paint dries makes it easier to clean up.
-
Clean your mess up.
Finally, once you’re done with your paint job, throw all the tape into the trash and pack up your stuff. Clean your brushes and rollers and cover any leftover paint to preserve it. If there are any areas with accidental paint splatters, clean it up immediately before the paint dries and does any visual damage.
One of the most important things to take note of when DIY painting, do not rush. Give yourself enough time to prep, paint, and clean up. Pros do it faster because they already have years of experience. Cut yourself some slack and just enjoy the process. Happy painting!


